
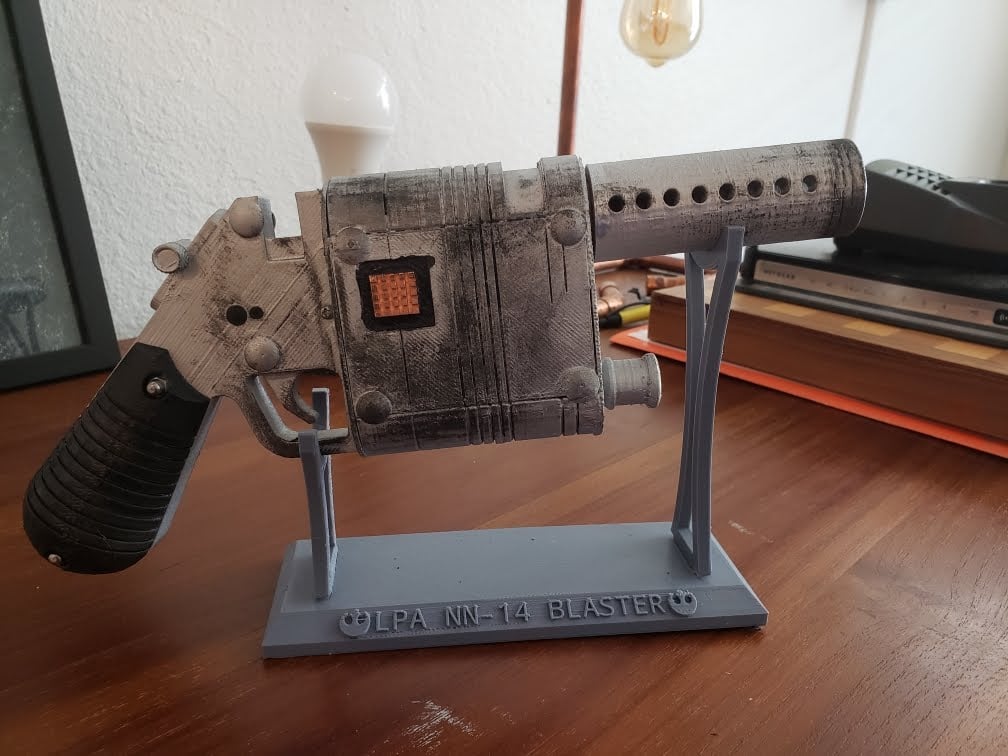


This is Rey’s LPA NN-14 blaster replica 3D Printed and then assembled and painted by me. I really enjoyed this project. It was the first 3D printed project I have done that required assembly and finishing. My Dremel came in very handy modifying all of the parts to fit perfectly before gluing. I made a mistake while assembling and accidentally glued the side panels of the main body upside down. So because of that I decided to take artistic license with the rest and make it “my own”. Which is why you can see that I have mounted a spare copper heat sink from a Raspberry Pi project to the side. Over all I think it turned out looking cool and I am happy with the way it looks.

I had to use a Dremel to cut away sections of the parts so they would fit well together before gluing. This included cutting away the inside of the barrel to fit the body mount, cutting away part of the brackets that fit the handle to the gun so they would fit, and lightly sanding. After that I was able to easily glue it together with super glue.
The 3D print that I used came with holes in the body to put in real screws if you wanted. I considered filling them so they wouldn’t show, but instead decided to glue thumb tacks in them to give the appears of mental rivets when painted. I think it worked out well.
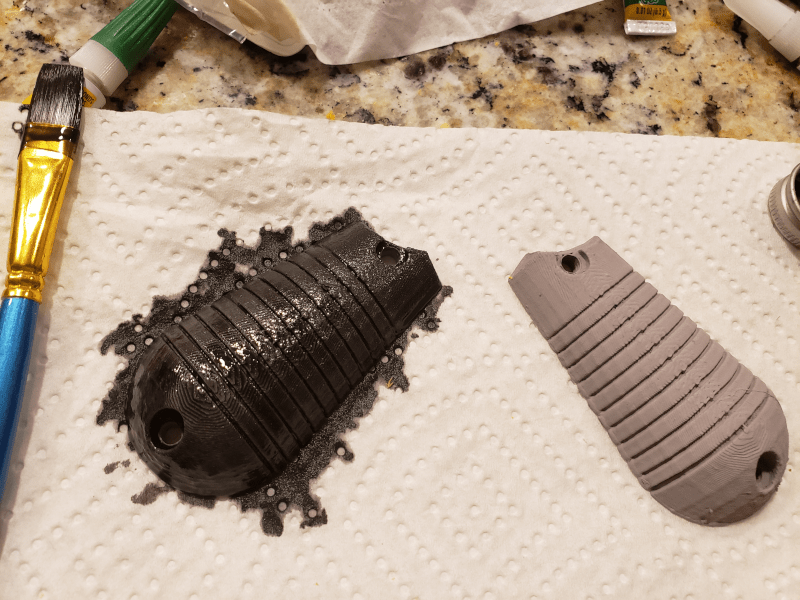
After the gluing a sanding was done it was then time to paint! But before applying the final paint job, I sprayed all of the pieces with 2 coats of Gray Rust-Oleum 249279 automotive filler primer. Then I sanded out a few of the rough spots, and began painting. I chose to paint the grips flat black to match the original prop as much as possible.
I sprayed the rest of the blaster with 2 coats of Silver Rust-Oleum 1915830. i then glued the grips on, and affixed some fastener caps over the grip holes with super glue to give the appearance they had been bolted on. Then I painted the black squares on the body and glued the cooper heat sink. Finally to give the blaster an aged look I used ebony Rub’n Buff on the sides and mussel with a paper towel, being careful not to apply to much and to rub it into the needed crevices.
I also ended up purchasing a 3D printed stand to display it on.
Part List:
- 3D Printed Parts Kit (the original kit is no longer for sale, this one looks very close to the one I used.)
- Gray Rust-Oleum 249279 primer
- Silver Rust-Oleum 1915830 spray paint
- Raspberry Pi Copper Cooling Heat Sinks
- Rub’n Buff, Ebony
- Thumb Tacks
- Black Flat Testors Enamel Plastic Model Paint
- Super Glue